
Planting Bare Root Herbaceous Peonies
Planting Bare Root Herbaceous Peonies
Choosing a location:
Herbaceous Peonies want a sunny spot in the garden (at least 6 hours of full sun) in order to thrive. It’s also important that they are planted in a spot that does not experience standing water otherwise they can experience root rot. If you have Black Walnut trees on or near your property, it’s important to plant your peony at least 50 feet away. Your peony will enjoy a spot that has fertile soil.
Full Sun – Well draining soil – Away from Black Walnut Trees
Preparing the site:
Dig and fluff the soil where your peony will be planted. It will help to place your peony on the ground (with eyes pointing to the sky) to see how much space it will take up. Dig a hole that is wider than the root and 2 to 3 times deeper than the root. Add some aged compost or manure and mix this in with the soil. Replace all the soil in the hole and make it nice and fluffy – this makes it easy for the roots to penetrate the ground as they grow.
Planting:
Move some of the soil in your hole aside with your hands and place your peony root (with eyes pointing to the sky) in the hole and cover back with soil so that the highest eye is only 1 to 3 cm below the soil surface. This shallow depth is critical. The biggest reason that peonies fail to bloom is they were planted too deep. I know this defies all your instincts….but believe me your plant will thrive in these conditions.
In the spring stems will emerge from the soil. At this point, it’s a good idea to provide a cage or other support system so that the stems will grow up into the support and the weight of the blooms can be supported come time for them to flower. Don’t panic if your plant doesn’t flower in its first year - the first year is all about settling in….but keep your eyes open in year two - you should be treated to beautiful blooms that only get better and greater in number as the plant reaches maturity.
If you wish to cut blooms to put in a vase – cut no more than 12 to 18” length stems - this usually gives you a cut flower with 2 to 3 leaves on the stem. The remaining stem on the plant should have as many leaves as possible. This ensures that the plant will still have ample leaves remaining on the plant to photosynthesize and feed the roots and eyes for next year’s growth.
After your plant blooms in the spring - gently top the soil with a thin coating of aged compost/manure. You may also wish to snip the spent heads off your plant. This redirects the plant to putting energy into its root development instead of seed development. Be sure to leave the foliage on the plant all season. Do not worry about powdery mildew that forms in the summer or fall - there is no reason to treat this. After the first frost - cut the stems down to the ground and throw all stems and leaves in the garbage (not your compost- just in case they have powdery mildew). Leaving old stems/foliage at the base of the plant poses the risk of disease affecting your plant early next season.
Most of all – Enjoy your beautiful peony!
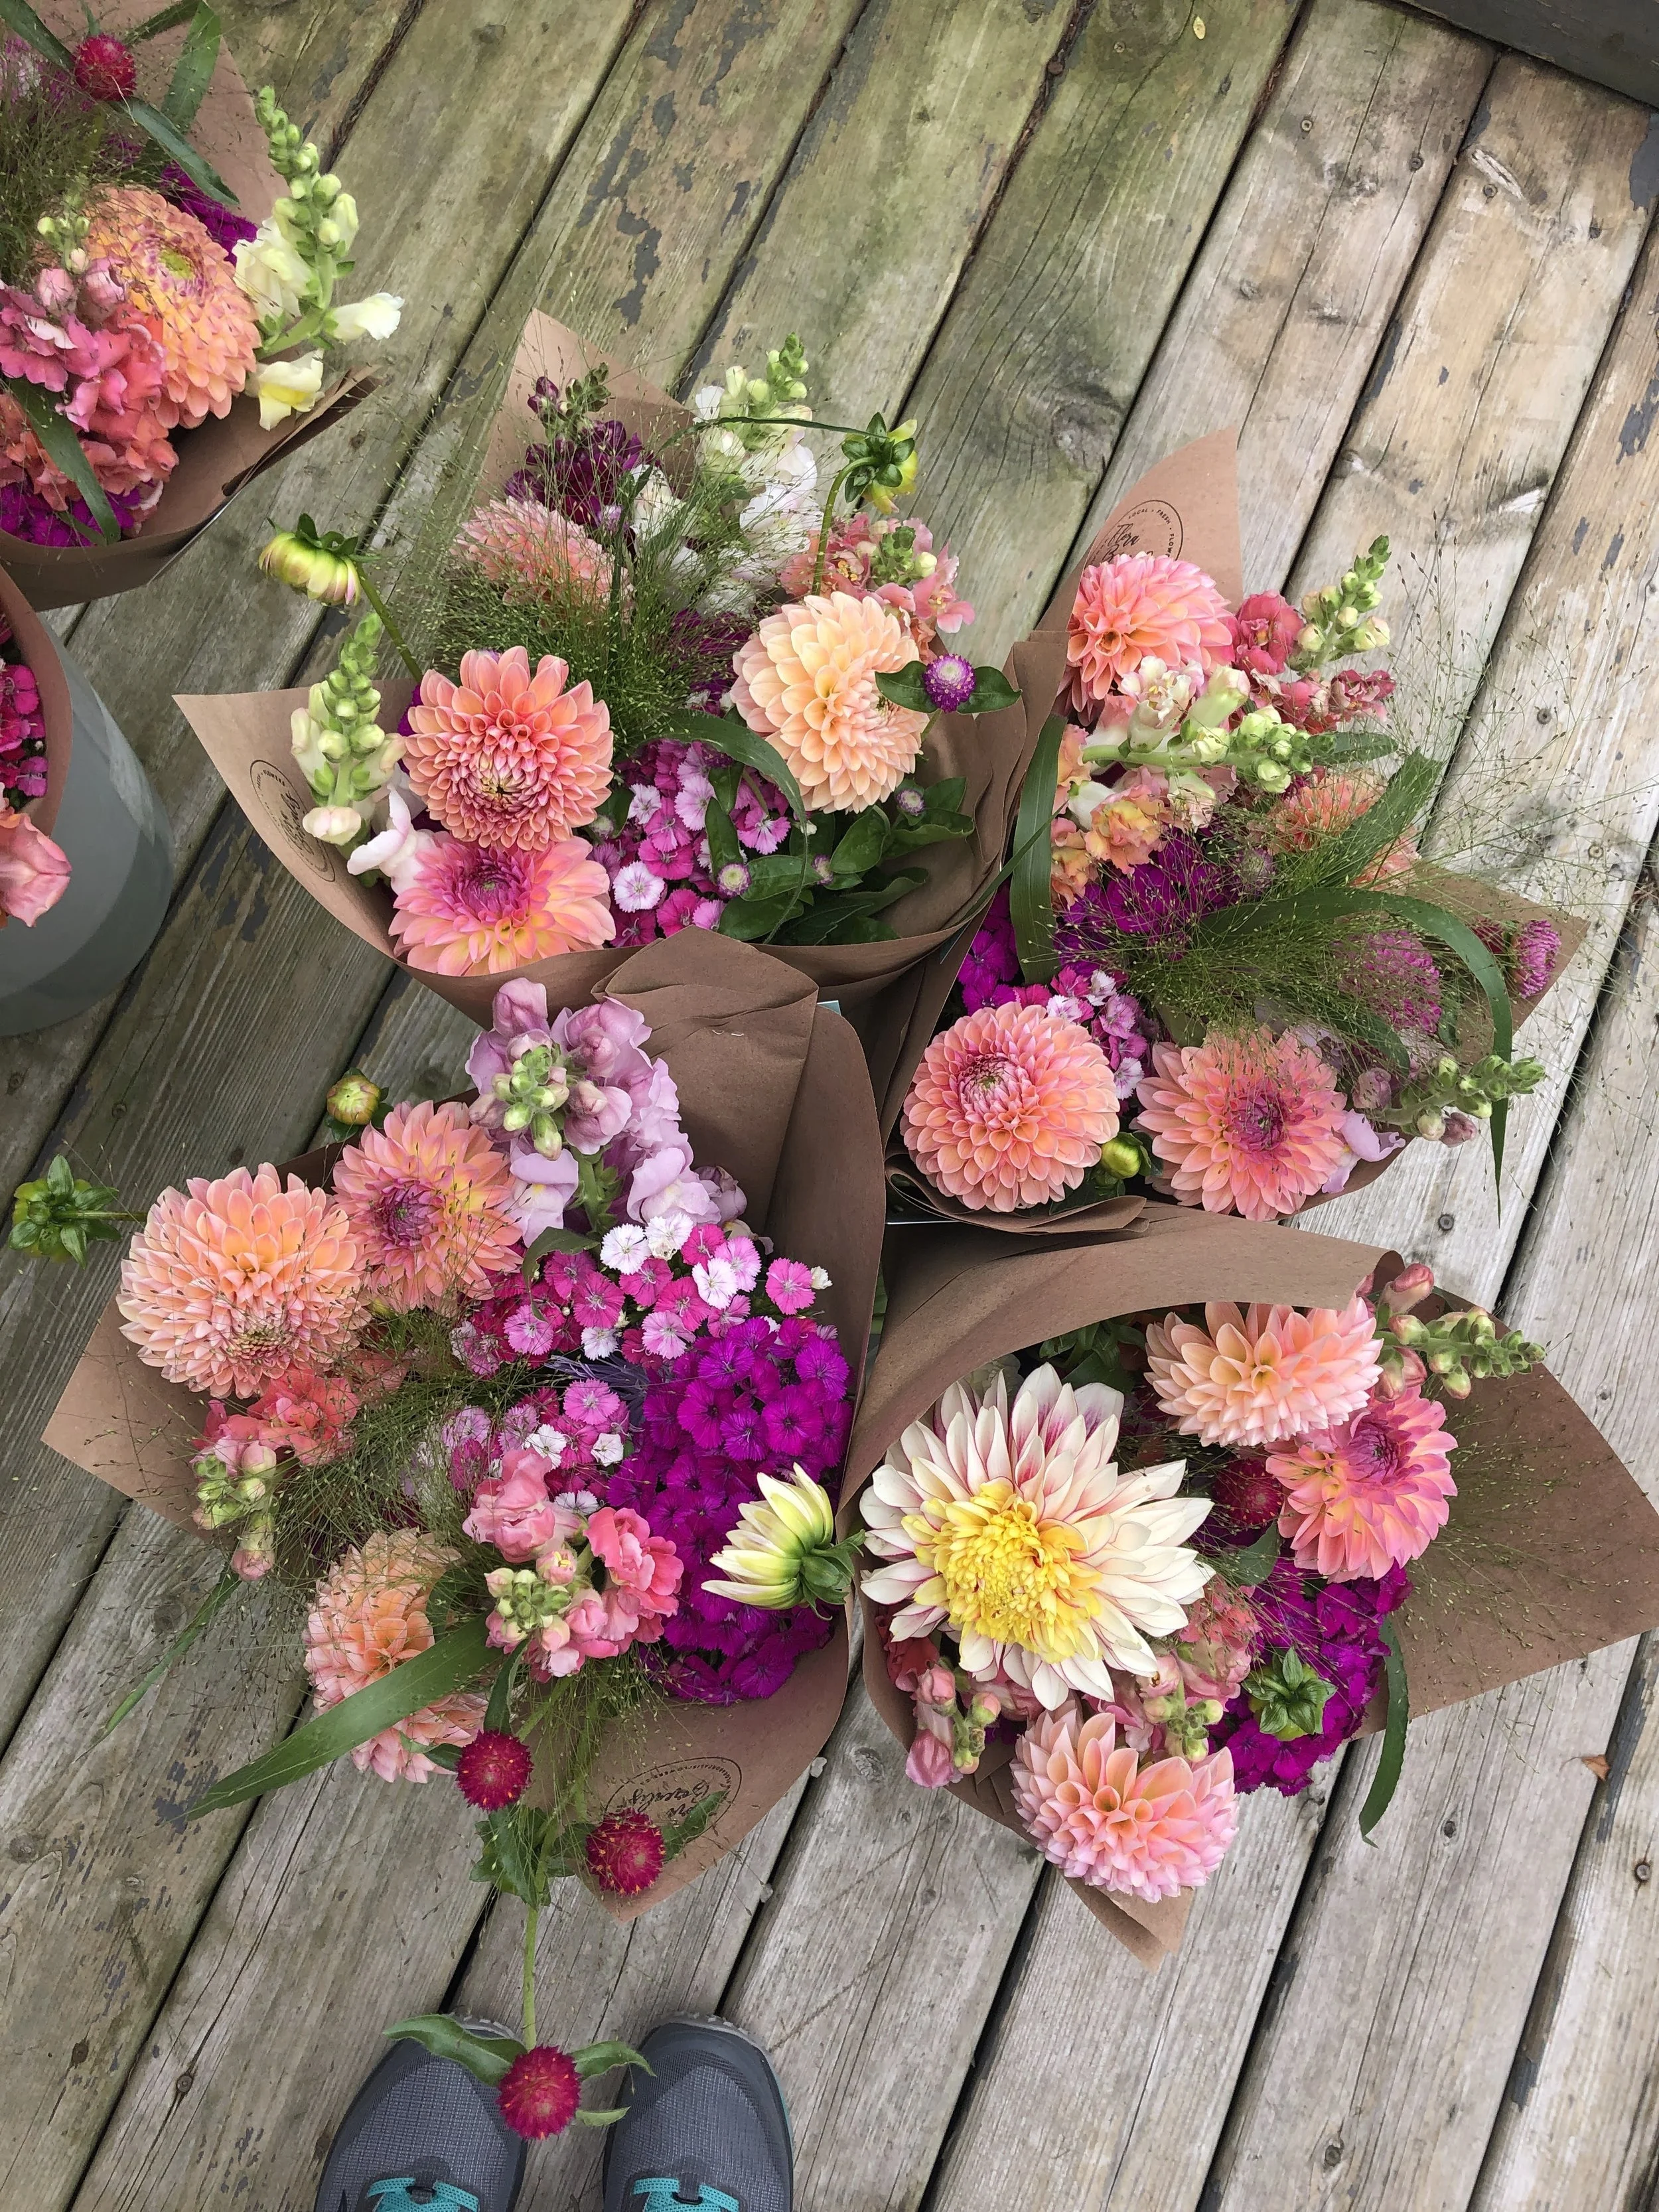
How to make your bouquet last longer
So you’ve just received a beautiful bouquet of flowers and you want to enjoy it for as long as possible?
Here are our top tips for prolonging the life of those beautiful flowers:
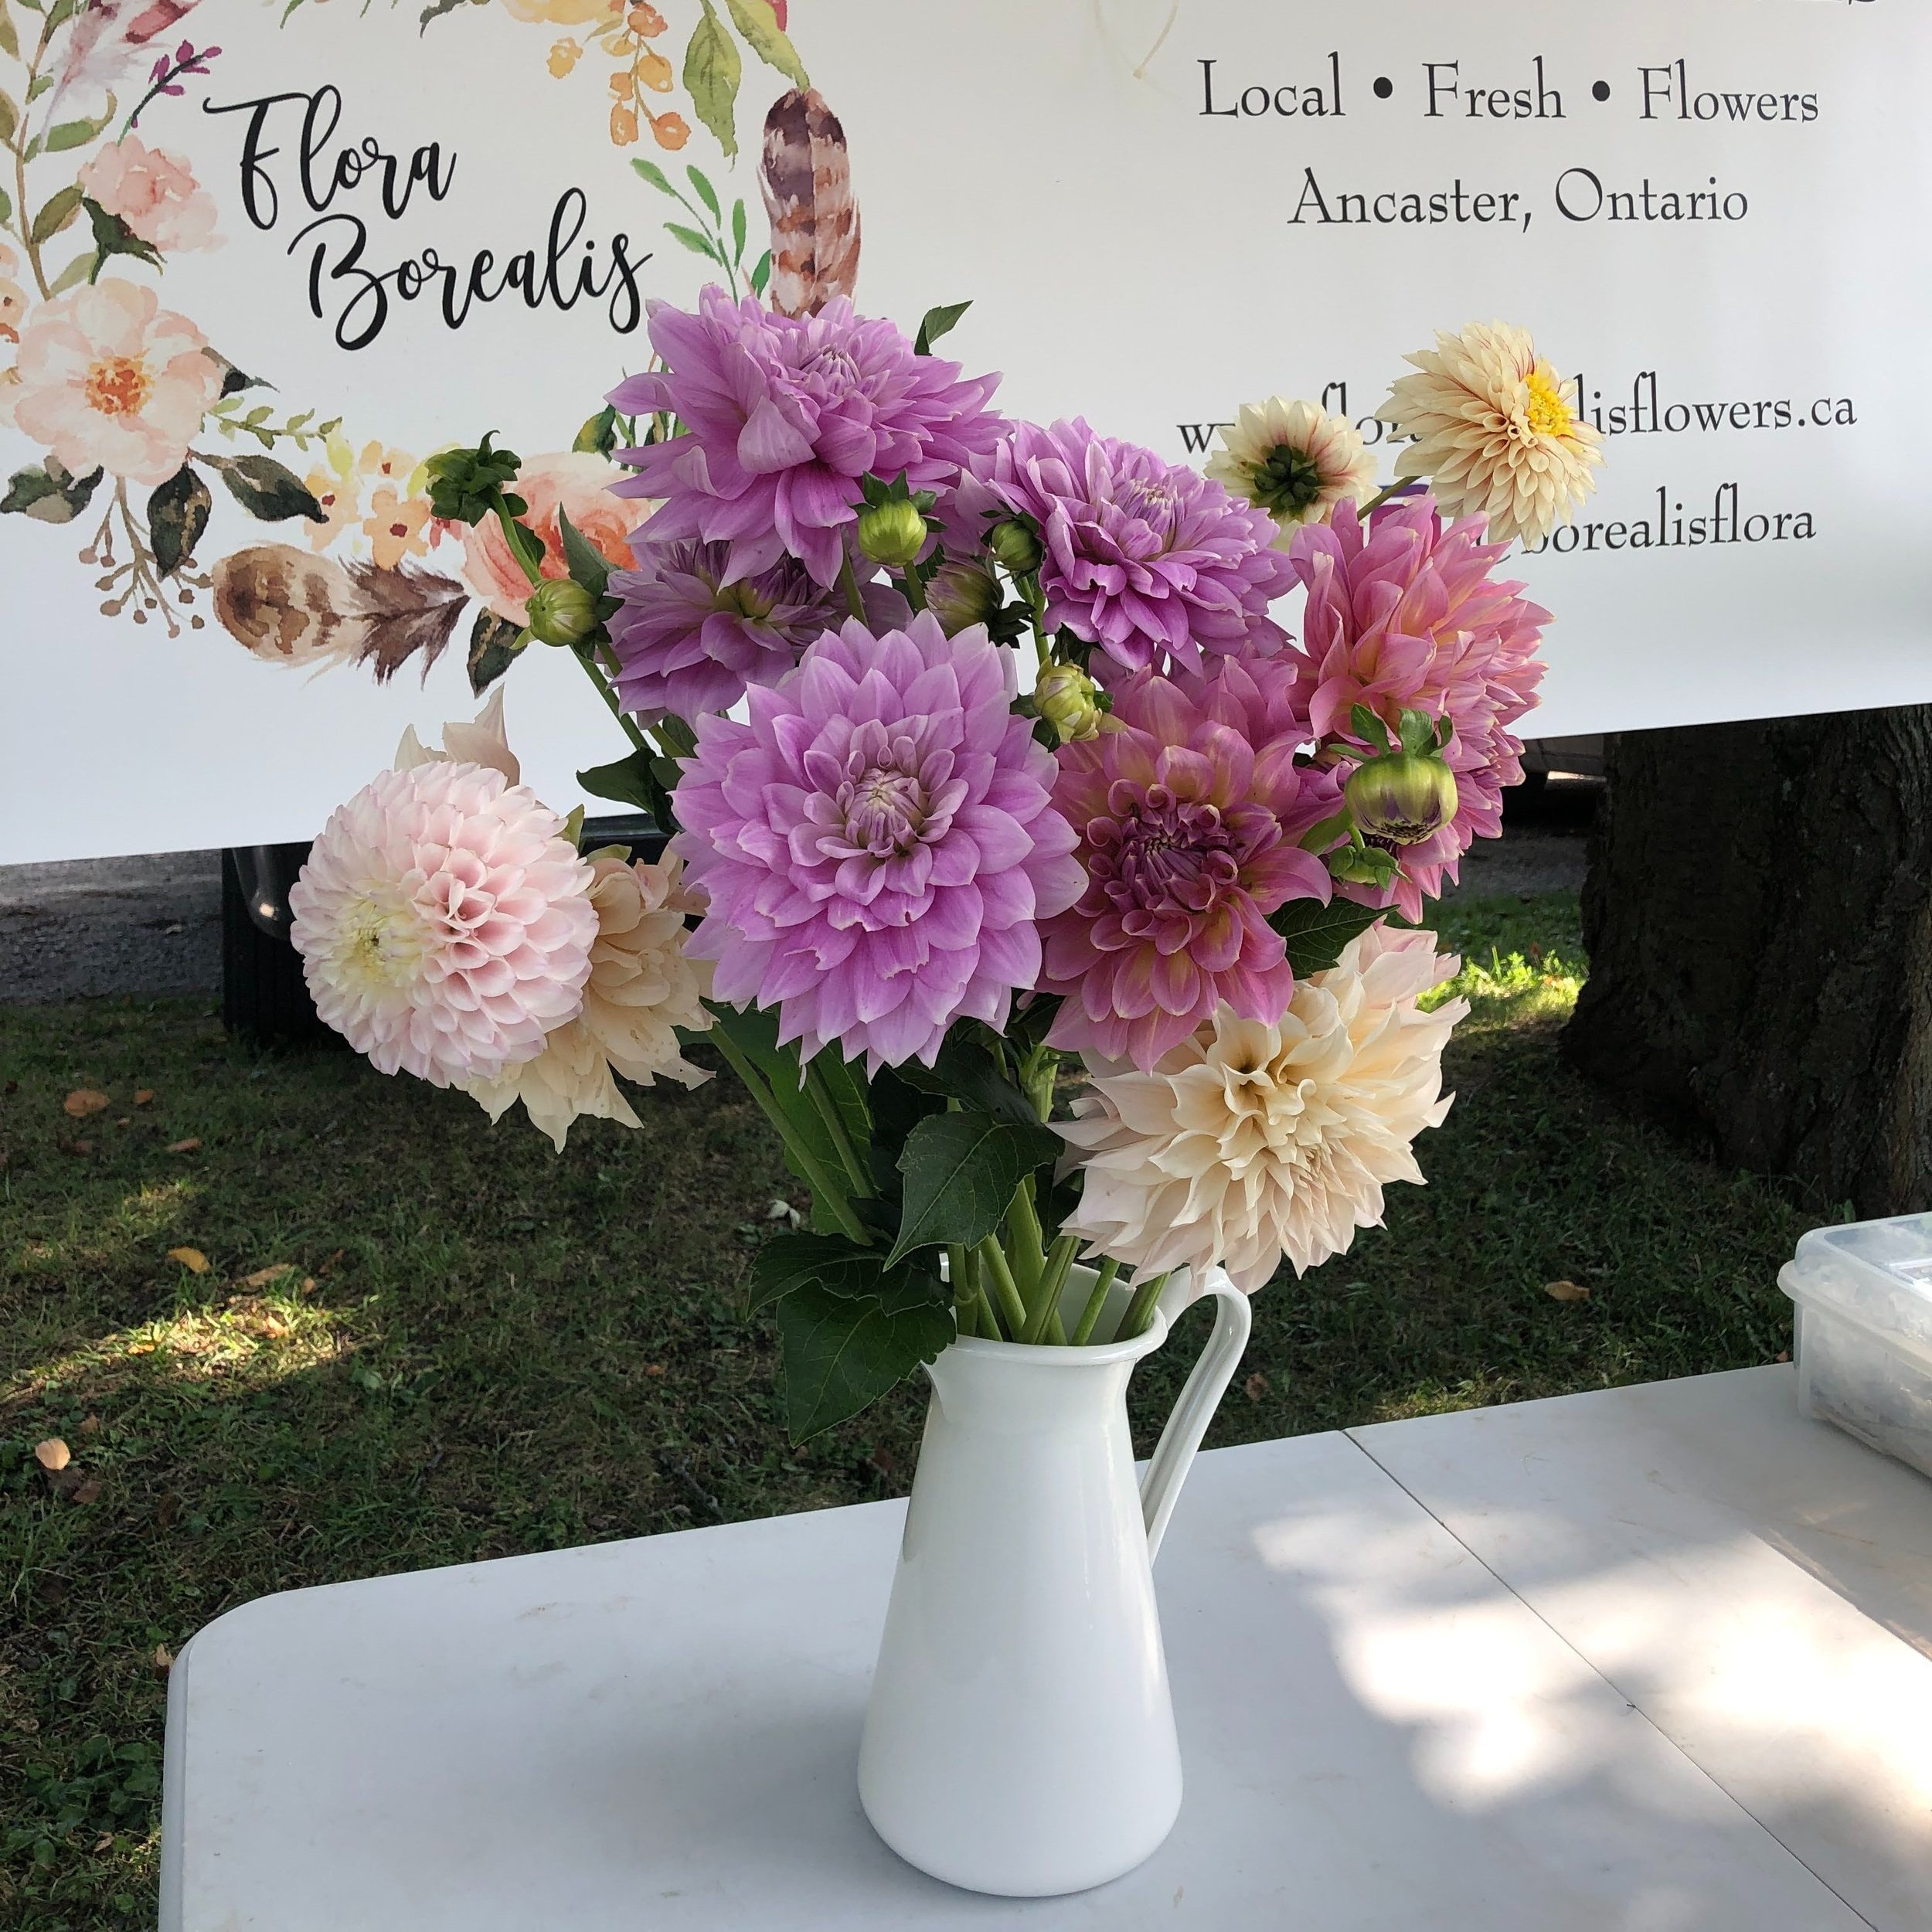
1) Limit their time out of water after purchasing. If well hydrated, your flowers should do fine being out of water for 30 min without too many consequences. This gives you time to get those beauties home to some water. If you have a long travel distance home, consider placing them in a temporary vessel filled with water. When we sell at the farmer’s market, we always offer to hold your flowers until you’re finished shopping. That way you can leisurely shop the market and your flowers will stay happy and hydrated until you’re ready to head home.
2) Start with a clean vase. I know it’s tempting to grab an old dusty vase in a hurry. Some of us so rarely receive flowers that our vases are relegated to the dirtiest and most remote parts of our homes and are filled with scunge from the last bouquet and webs as well as that inevitable dead spider……you know I’m not wrong! If that’s what you are starting with, then give your vase a good wash. It should be clean enough to drink from! I love vases that are shaped in such a way that I can put my whole hand into the vase to clean it. If I can’t then I’ll use a brush to do the job for me. Swishing soapy water around is not enough, you need to physically do some scrubbing to remove debris. To save yourself a lot of work next time, store your clean vases upside down so you can just grab and use them right away.
3) Start with clean cool water. Remember your flowers are just as discerning as you are. They want a nice cool fresh drink of water.
4) Remove any leaves (foliage) that are below the water line in your vase. I know this feels weird, but trust me this will vastly improve your vase life. Any foliage that sits in the water will decay and become a vehicle for mould and bacteria which will turn your water from clean to disgusting in a hurry. Strip those babies off!
5) Cut the bottoms of stems. There are a few exceptions (which your flower farmer will tell you about at the time of purchase if applicable), but most flowers benefit from being cut before placing into water at home. Why should you cut the stems? This removes any dry, dead or damaged plant material at the end of the stem and ensures that fresh ends are available to uptake (drink) water from the vase. Flowers that can drink easily will stay better hydrated and this will significantly lengthen the life of your bouquet. How should you cut the stems? I like to cut stems on an angle so that when placed in the vase the stem is freely open to the water instead of flattened against the vase. Some people like to cut their stems under water, or under running water. What ever you prefer, remove 1 cm to 1 inch of the stem and place the newly cut stem into water as soon as possible.

6) Location, location, location! So where you place your flowers can affect their longevity. Avoid anywhere too warm or in direct sunlight. This will quickly dehydrate and bake those beauties! They did need light when they were growing, but now as a cut flower, direct sun can have a detrimental effect. Avoid placing your flowers close to ripening fruit (example: apples). As fruit ripens it produces ethylene. Many flowers are sensitive to ethylene and this can shorten their lifespan dramatically.
7) Keep away from pets. Ok this one is for the safety of your pets and the flowers. Most importantly, there are many flowers and foliages that can be poisonous to pets (especially lilies). Also it’s not cool to have your beautiful flowers damaged and chewed. As a matter of principle, we have purposely never grown or sold lilies (though there are some beautiful ones out there) because they are seriously toxic to cats. Any part of a lily (flower, leaf, stem) can spell certain death to a cat that ingests it.
8) Keep those flowers drinking fresh water. You guessed it: Change the water and recut the stems every 2 days.
What if you’re giving flowers to your mom? How will she know how to care for them?
Every bouquet carefully crafted by us is accompanied by a little card. If you turn the card over, you’ll see all our tips for long lasting flowers on the back. We’ve got your mom’s back!